Cetus running Klipper
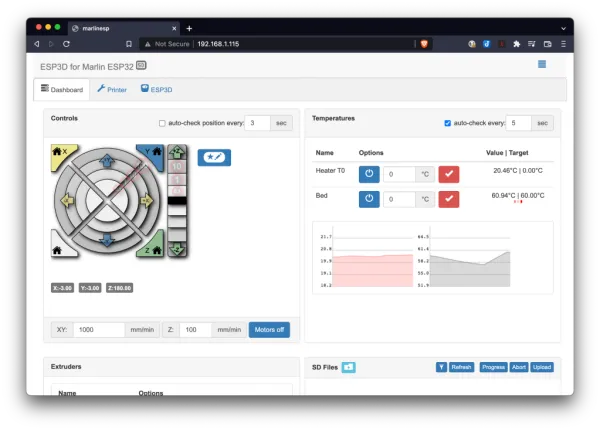
In a previous post I documented upgrading my Cetus 3D printer with a TinyFab ESP32 CPU. I've been pretty happy with that setup. I think this is a pretty solid printer - and being able to run any slicer I choose has been a big win.
So I guess the question is why upgrade again? In short, there are a few additional things I would like to have:
- Some sort of progress indication on the ESP32 web UI
- Integrated webcam support
- An easy way to send notifications - e.g. use https://ntfy.sh/ to push a print complete notification to my phone (my printer lives in my garage)
- Easily accessible GPIO for further printer upgrades
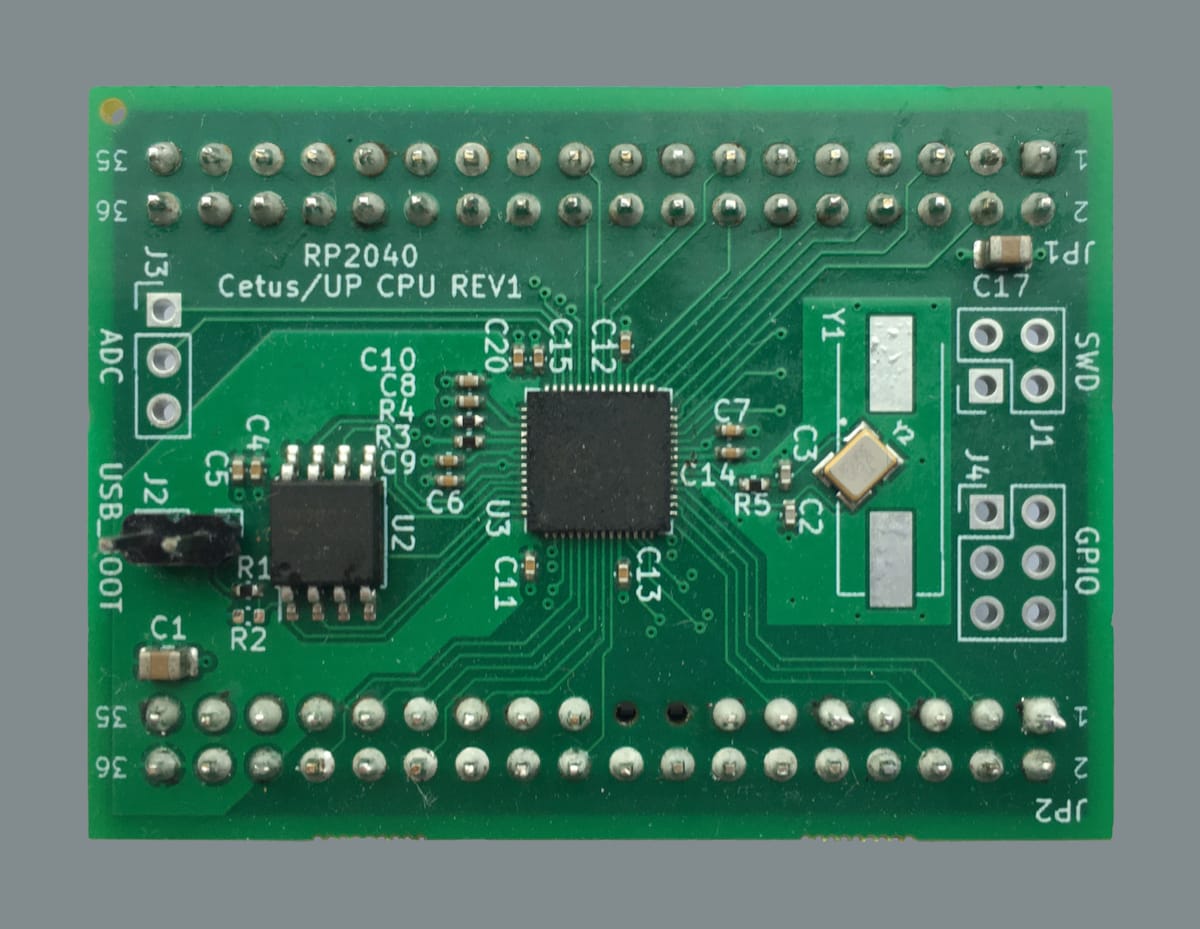
RP2040 CPU


I based my design on the Raspberry Pi minimal design for the RP2040. Breaking out microcontroller pins to the relevant pins on the mainboard connector. I exposed the few extra GPIO in case I wanted to add extra features - the most likely being control of a separate part cooling fan.
I decided to drop support for an LCD panel to free up some GPIO, since it's something I don't use and aren't planning to.
Excluding my time, getting a couple of boards made up, including component assembly (except the header pins) proved remarkably cost effective. Although, in all honesty, it was great practice doing some PCB design, which I hadn't done for a while. This was both the first four layer board I'd designed and the first time I'd had it assembled by the Fab.
The KiCad design files are available at https://github.com/richcarni/cetus-RP2040-CPU
Klipper overview
For those not familiar, Klipper consists of two components - one running on a microcontroller on the printer, the other running on a more powerful machine, typically a Raspberry Pi 4 but it doesn't have to be, that work together to control the printer. The idea is the more power computer can perform more compute intensive tasks like input shaping leaving the microcontroller to basically just drive the motors (and heaters, etc.)
A really nice extra feature of Klipper is that the printer's config file resides on the computer. This means that you can modify your printer and printer config without compiling/uploading the microcontroller firmware.
Installing Klipper firmware
First you need to compile the firmware. This process is well documented elsewhere (SKR-Pico README.md and Klipper installation). The relevant settings for this microcontroller when running make menuconfig are:
[*] Enable extra low-level configuration optionsMicro-controller Architecture = Raspberry Pi RP2040Communication interface = USB
When compilation is complete, a klipper.uf2 file will have been generated. The easiest way to upload this to the CPU involves:
- With the printer off, connect to your computer via USB
- Placing a jumper across the USB_BOOT pins
- Turn on the printer. The CPU should mount as a USB drive
- Remove the jumper
- Copy the compiled
klipper.uf2file to the USB drive - That's it!
Running Klipper with Mainsail
I assume the process is similar for OctoPrint and Fluidd, but Mainsail is what I have been using.
Obtain and modify your printer.cfg file. In Mainsail this file can be accessed and edited through the Machine menu.
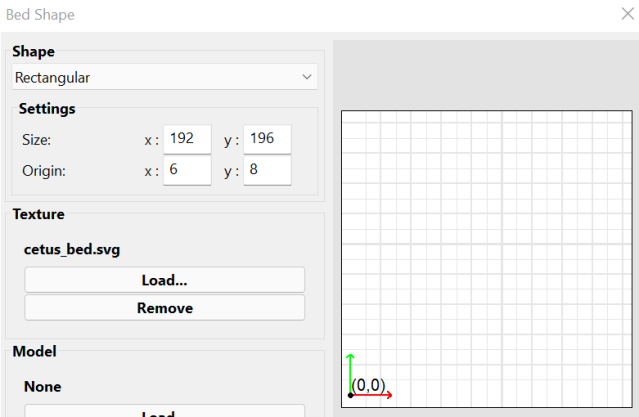
My printer is a MK3 (non-extended version) with a MK3 extension board and heated bed. I also installed a BLTouch bed levelling sensor (this post). If your configuration differs you will need to modify the config file accordingly. It's relatively straightfowards and well documented (Klipper configuration reference)
My printer.cfg file is available on my github
Was it worth it?
Without having done any direct side by side comparison, my impression is that print quality appears on par with what the Marlin based ESP32 CPU was producing. That shouldn't be a great surprise since I have emulated the print settings as closely as I could.
What about printing faster with input shaping? I don't know, I haven't played with that yet!
For me, the quality of life improvements make it worthwhile. Mainsail is so much more functional and nicer to use than the the ESP32 webui.
And, finally, I have a number of spare GPIO left. My next upgrade, if I ever get around to it, will be an independent part cooling fan.